Sending a Trip to the Driver
1. Sending a Trip to the Driver via a Link
2. Displaying a Trip in the "Cloudex Drive" (Driver) App
3. Creating a "Cloudex Drive" Password
1. Sending a Trip to the Driver via a Link
1) Select the Required Trip
- Open the trip list menu.
- Select the desired trip from the list of available trips.
2) Open the Trip Window
- Click the road icon located in the toolbar.
- After clicking the road icon, the corresponding trip window will automatically open on a new page.

A window with the driver's web application for the trip will open.
- Copy the link from the browser's address bar and send it to the driver via WhatsApp so that the driver can complete the required information.

2. Displaying a Trip in the "Cloudex Drive" (Driver) App
1) Select the Required Trip
- Click on the trip number to open the trip.
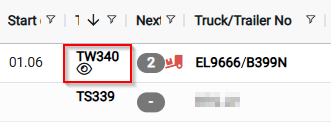
Important:
For the driver to be able to see the trip information:
- Activate the eye icon located next to the driver's name and surname.
- Once activated, the trip information will be sent to and become available in the Cloudex Drive mobile application.

- The trip will remain visible in the list of active trips until its status is changed to Delivered.
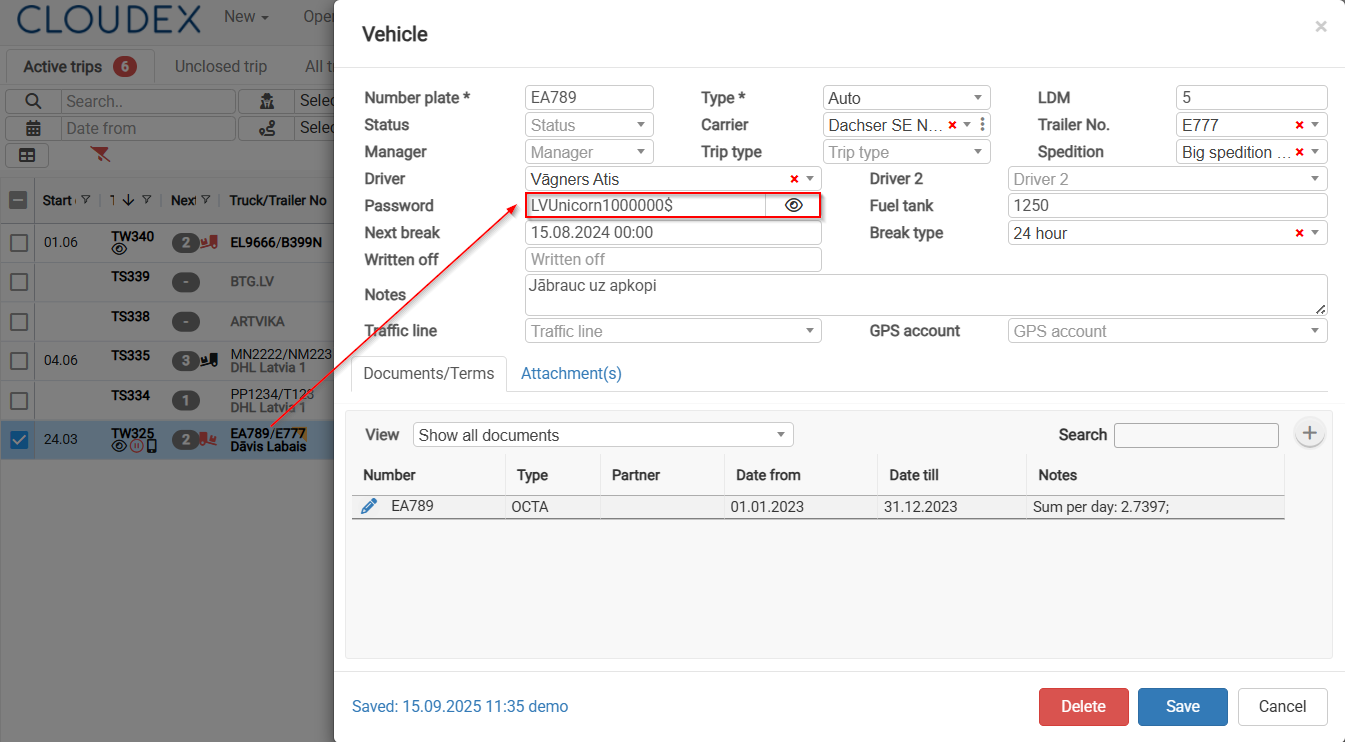
3. Creating a "Cloudex Drive" Password
1) Open the Vehicle Window
- Click on the vehicle registration number specified in the trip.
- The Vehicle window will open.


2) Create a Password
- Create a password of your choice.
- The driver will use this password to log in to the Cloudex Drive application.